Happy Friday y’all!
This post is a few weeks in the making. I have loved the look of letterpress that some artists use to create bright sentiments for cards and posters. In the scrapbook world there have been a lot of people buying letterpress plates to create their own cards and embellishments. I wanted to dip my toe in the creative pool, but did not have the money to invest in a letterpress plate platform for a die cut machine. So…I asked Mr. Google for ideas and did a little trial and error to create the same look with SOME letterpress specific supplies mixed with card making supplies I already owned.
I decided to put together a tutorial of what worked for me to create letterpress pieces at home with my card making supplies. I hope this is helpful to people and it’s what I wished I had when I was figuring all this out. Below I cover: creating a letterpress background using an embossing folder and creating a letterpress sentiment using clear stamps. I linked up the supplies I used so you can try this out easily. Please let me know in the comments if you try my tutorial out or have any questions!
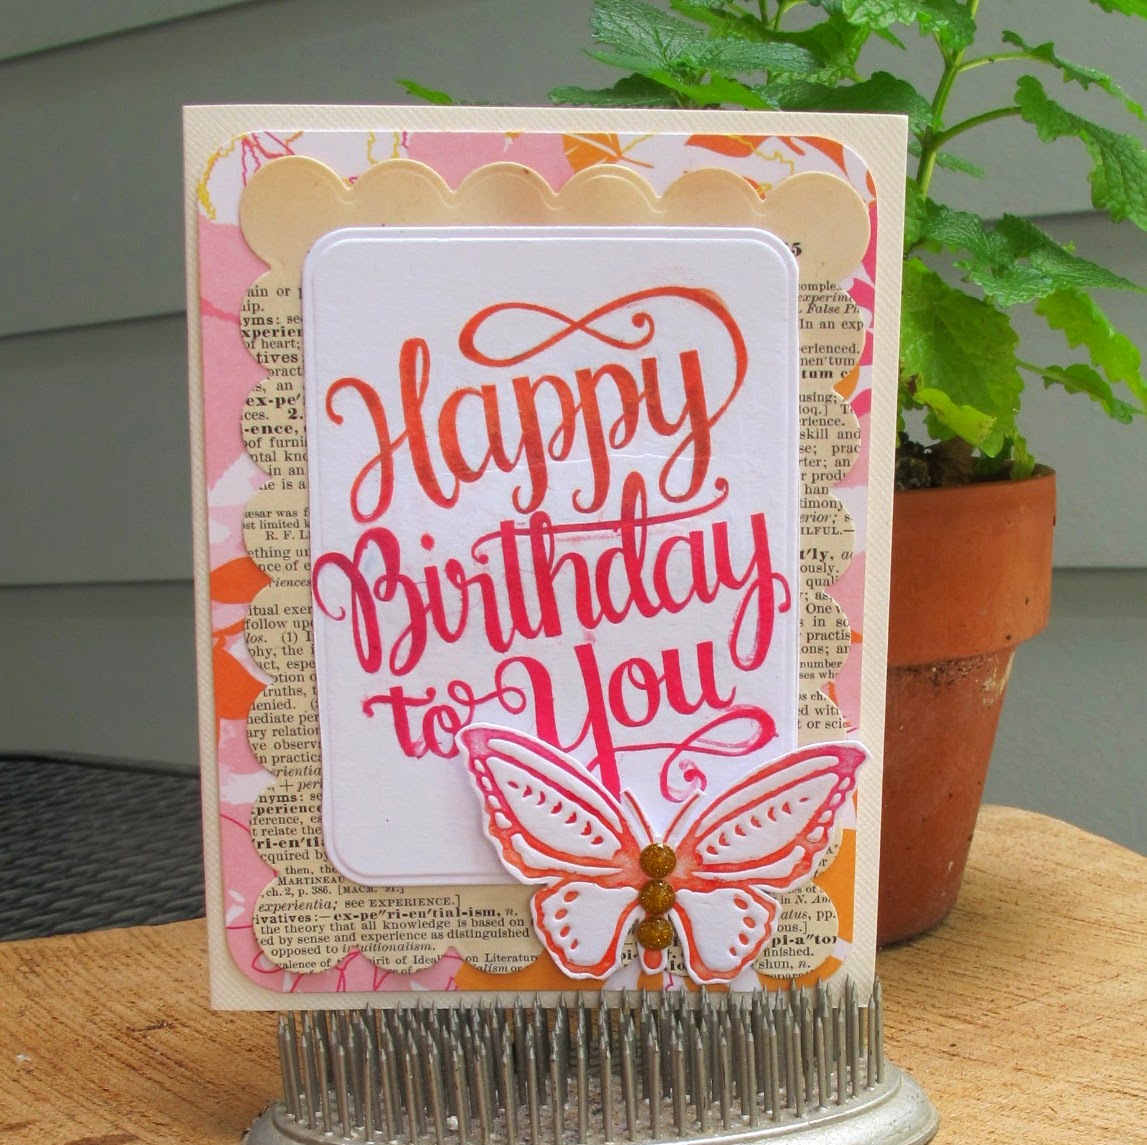
Here’s a sneak at the final products:
I love the way the letterpress ink is brighter and more opaque than traditional stamping ink, plus the way the letterpress paper allows a crisp impression with the ink is a really distinct look. I still LOVE creating cards with stamps and traditional ink, but now I have another technique in my arsenal. This technique takes a little practice and isn’t super quick, but I hope you try it!
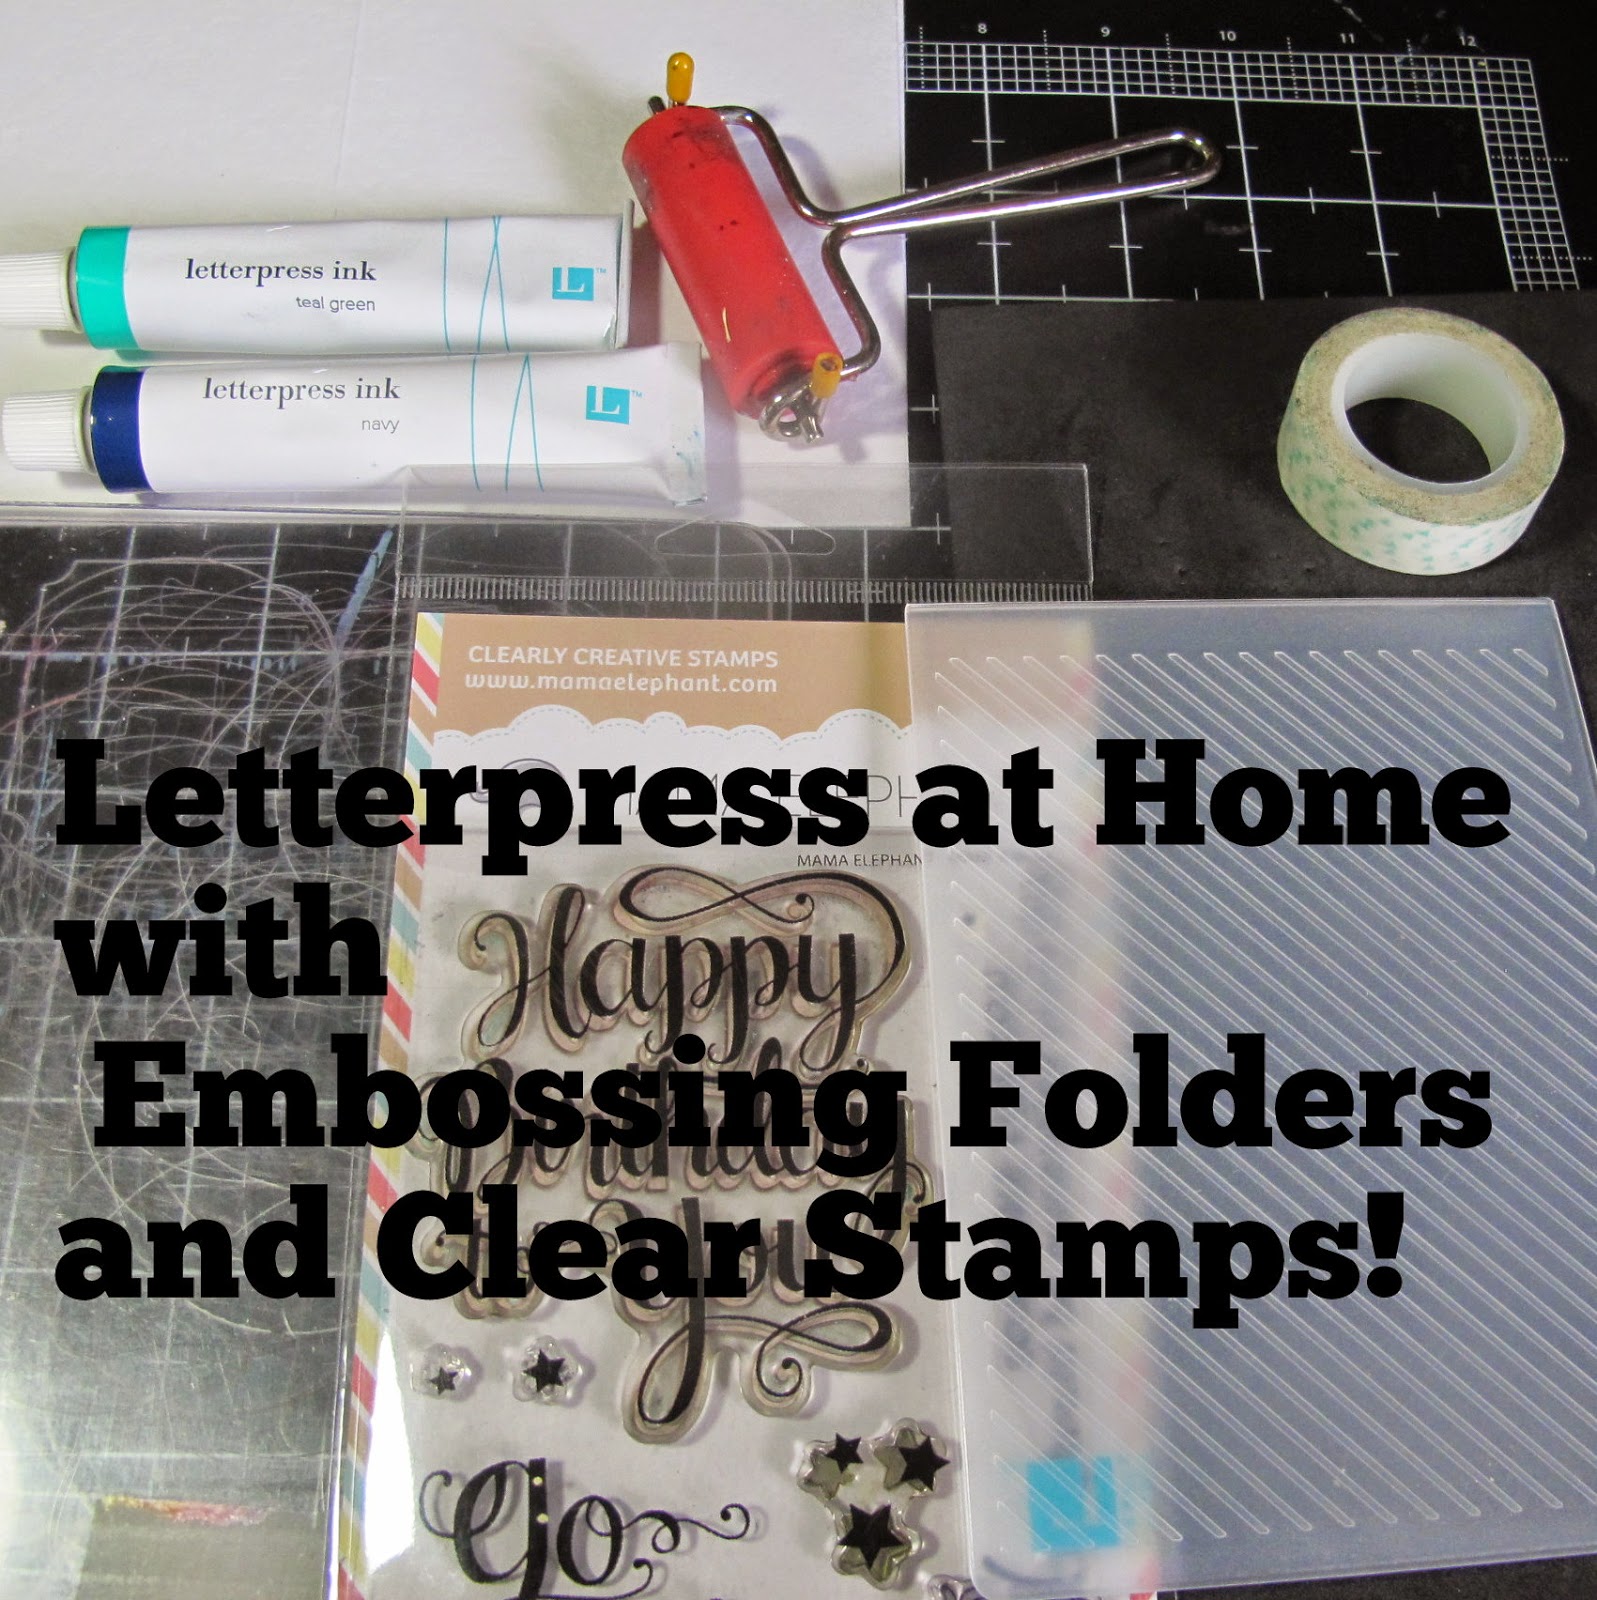
SUPPLIES: 1. Letterpress Paper (made of different fibers than cardstock or patterned paper, worth the purchase if you want a nice, clean impression. 2. Letterpress Ink
 (you could certainly use traditional stamping ink like this one or this one, but the letterpress specific ink is thicker and more vibrant). 3. Brayer
 (I use this one all the time when paper crafting, see it again here) 4. Washi tape 5.Die Cutting Mats
 (I have a Cuttlebug Machine
 and I used two old ‘B’ plates. You can clean the ink off them and use them again and again). 6. Clear Stamps (I used this one from Mama Elephant. I found that bigger stamps with thicker lines worked best). 7. Embossing folder (I used this one from Lifestyle Crafts- they also sell a bunch of budget friendly letterpress supplies) NOT PICTUED: a scrap piece of plastic or acrylic to roll out your ink, canola oil and paper towels to clean the ink off your tools (Soap and water does NOT clean off letterpress ink).
This is the easier of the two techniques.
1. 1. To roll out your ink put a pea sized amount of ink on your plastic or acrylic piece, use your brayer to roll out to a thin consistency. Then use the brayer to roll it over your embossing plate. In my example you can see that some of the ink got on the background where I did not want it, I used a paper towel and oil with my finger to lightly wipe up. To keep this from happening, go light on the ink and pressure when rolling. I got a lot better every time I tried it-practice makes better!
2 2. Carefully place your letterpress paper in embossing folder and send through your die cut machine.
I used the piece I letterpressed as a background. I decided to try and use two colors of ink and I am in LOVE with the way it turned out!
This technique has more steps, but I promise it’s totally worth it! Again, leave me a comment if you have any questions.
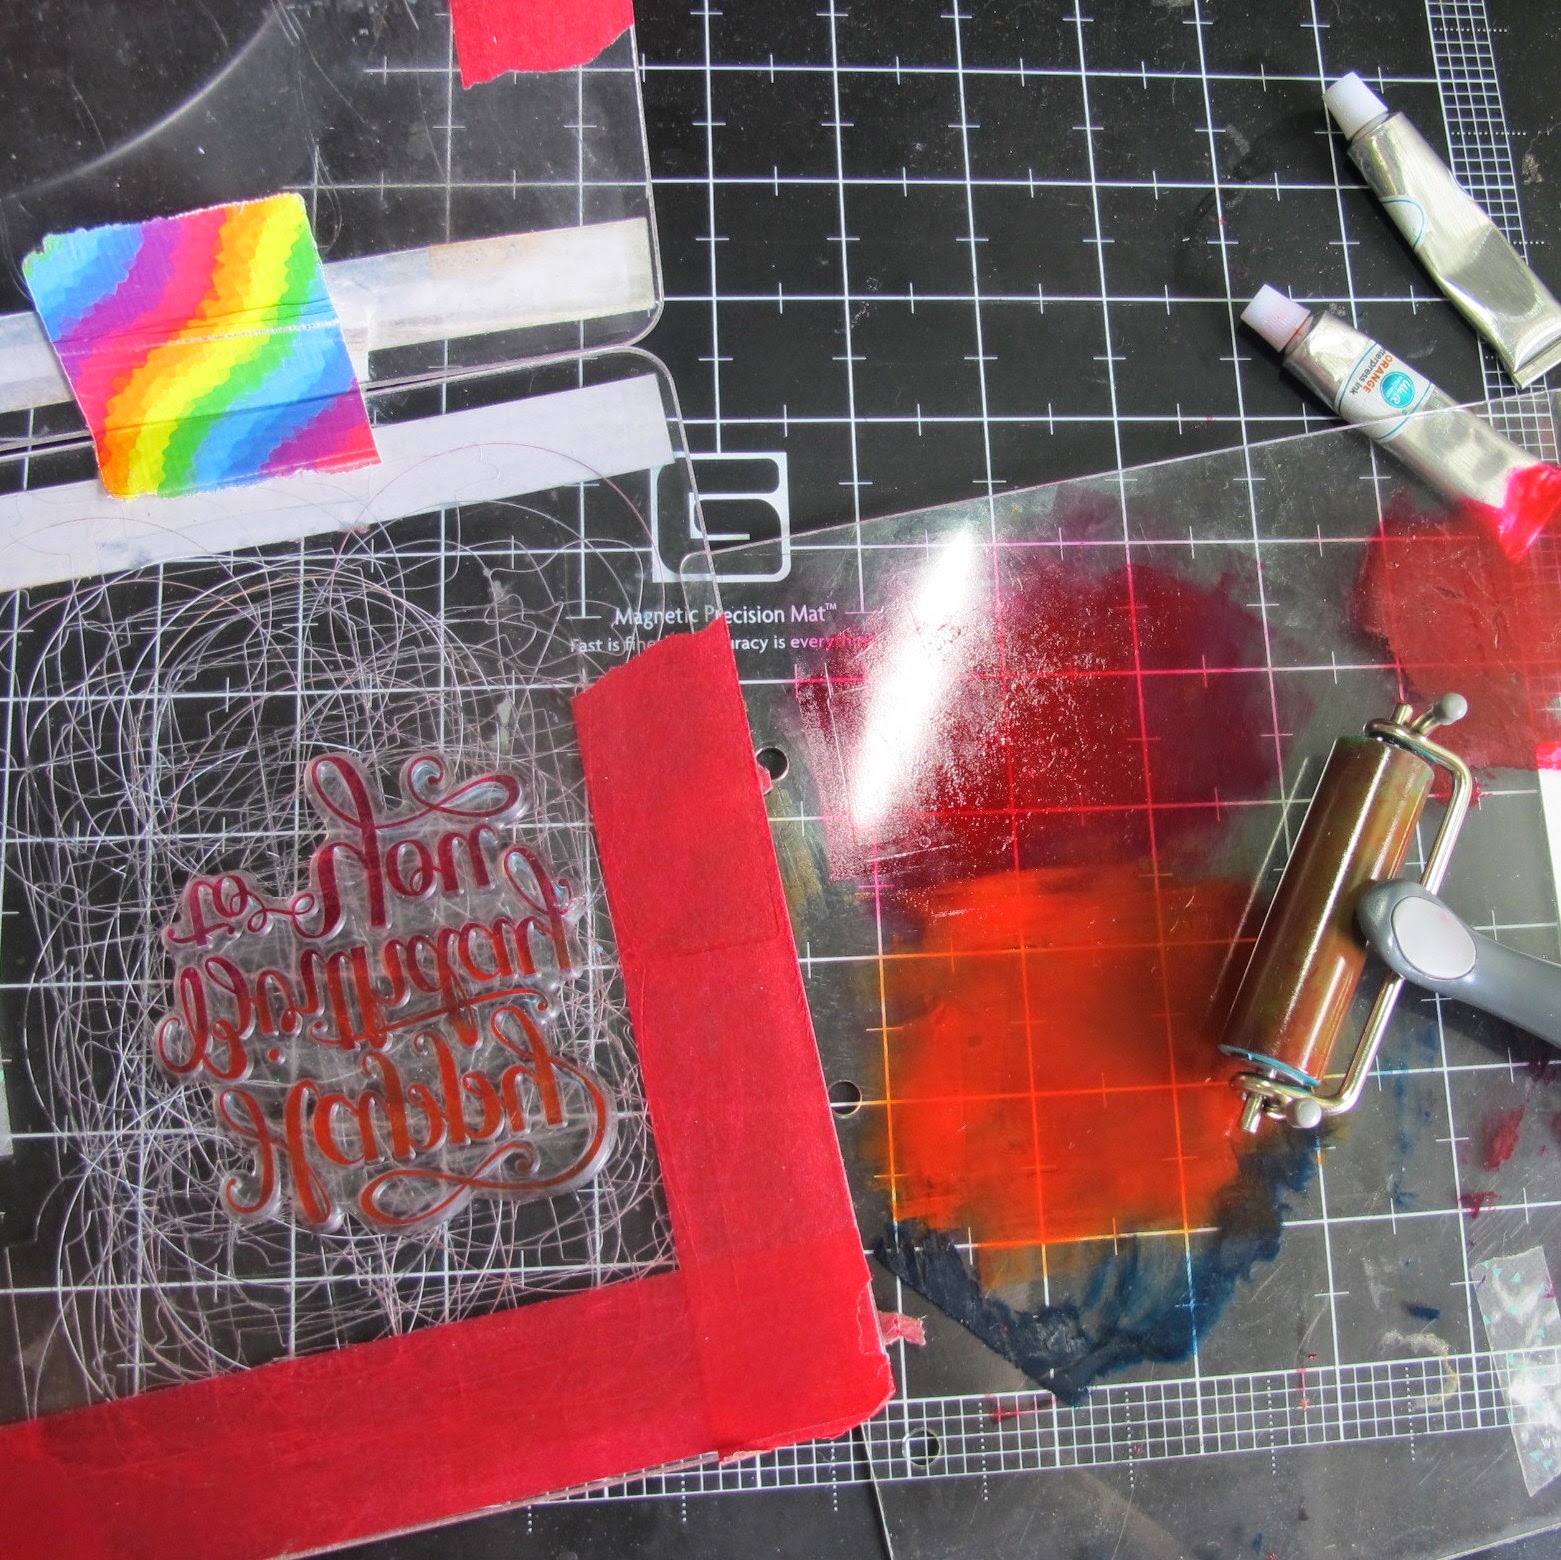
1. Take your two die cut machine plates and take them together with a super fancy duct tape hinge. Part of what makes letterpress tricky is you don’t want the paper or the image to wiggle too much and taping the plates together helps with that. The hinge should make the plates open and close like a book
2. Create an ‘L’ with washi tape- about 2 inches on a long and short edge of the due cut plate. Make sure the ‘L’s’ line up exactly on both plates. This allows for easy placement of paper and image without too much wiggle room. (For the record, I just left the washi tape on the plates even when I went back to using them for diecutting. They didn’t get in the way at all!)
\
3. Place your clear stamp in the center of the ‘L’ on one plate (as you can see all those random white lines are from years of using this plate for diecutting. No need to buy a special tool to do letterpress if you’re only going to do it occasionally!)
2 4. Roll ink onto your clear stamp-again, go light on the ink and the pressure when you roll. You can always add more ink, but too much ink will be messy and you won’t get a good impression.
5. Place your piece of letterpress paper on the other die cut plate. I used a piece of washi tape to hold it in place so it wouldn’t move. Carefully fold up your plates and roll them through your machine per manufacturer’s directions. Only go thru once, if you go back and forth your image will wiggle and you won’t get a clean impression (ask me how I know ; ) )
6 .CAREFULLY pull apart your plates and marvel at how pretty your letterpress piece looks! (NOTE: The ink did not change color when I did it. I tried blue and teal for my first few attempts, then switched to pink and orange for this tutorial)
I let both letterpress pieces sit for a few minutes to dry before handling. I used the sentiment to create a card with supplies from this Studio Calico kit. (The butterfly was an extra piece from the first card)
There you go, make sure to share this on Twitter, Pintrest, with all of your crafty making friends (just click the buttons below) And, please let me know when you try and it and how it turned out!
Have a great weekend!
Michelle


