Hello!
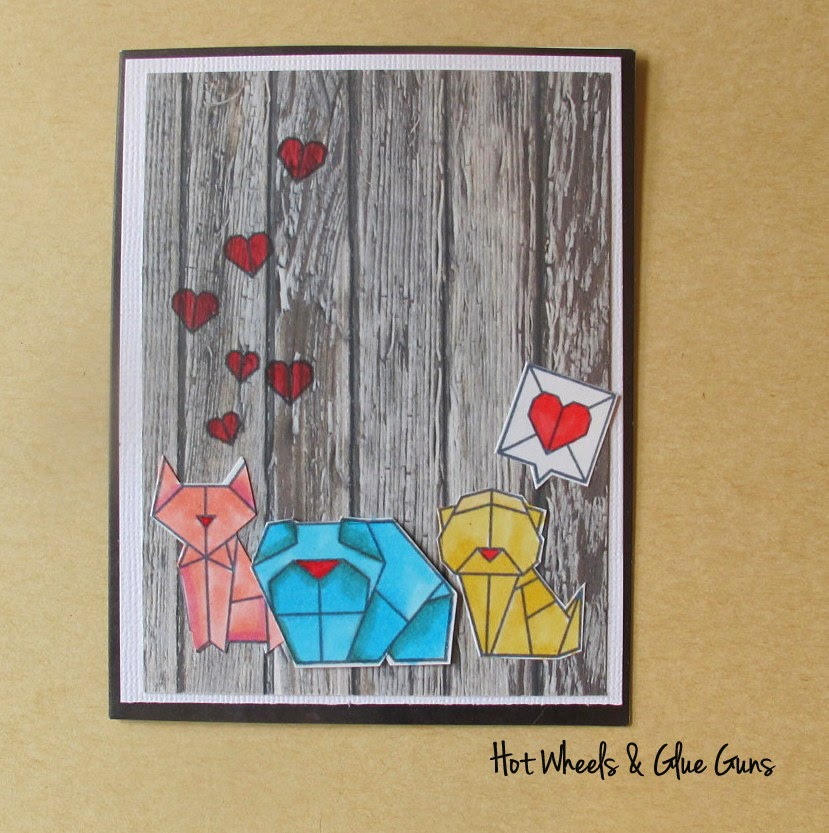
Today is the follow up to Monday's post where I shared this card:
I took the time to figure out how to cut these little critters using the print and cut feature on my Silhouette Cameo. It wasn't as hard as I thought it would be, now I wish I had tried it sooner! I know that Silhouette America sells a PicScan mat that you can use to do this but I decided to try something with what I had already. PLEASE NOTE: I have the designer version of Silhouette Studio, so if you have the free version your screen might look a little different. I am pretty sure all the functions work that same, but let me know in the comments if you have a question. I also have an HP All in One, with a scanner. This is what worked for me, let's get started!
To make this work I used:
my Silhouette Cameo , 12x12 mat, HP Photosmart 5520 e-All-in-One Printer
 , and Origami Stamp Set from Mama Elephant and the Designer Edition Studio Software
1. Stamp images you want to cut out in black ink on a piece of white paper. Black ink on white paper should give you a nice, crisp image. I decided to try this favorite set from Mama Elephant.
2. Scan as a PICTURE, not a DOCUMENT (so it saves as a JPEG file, not a PDF)
3. Open scanned image in the Silhouette Software. This is what mine looked like:
4. Make sure your page settings are set to 8 1/2 x 11. Mine default to 12x12 and that will screw the whole thing up, so make sure to change it.
5. Go the the TRACE feature in the software. Choose SELECT TRACE AREA, then select the area around each image individually. (Don't just highlight around the entire group at once, it might not trace correctly). Click TRACE OUTER EDGE. That should create a red outline on the outside of each stamped image.
6. You can see the red outlines I created around each image. I just moved the stamped image over a bit with my mouse so you could see it. Make sure the red outlines are right over the stamped images. If I print and cut with it looking like this it would print the images where the black outlines are, but cut the red outlines, so I moved them back.
7. Once you have traced each image you can choose SAVE TO LIBRARY to, well, save them to your library. Then, it's time to start printing and cutting.
8. Open the REGISTRATION MARKS MENU and select SHOW REG. Marks or STYLE-CAMEO, depending on your software. Make sure all the stamped images with cut lines are inside the registration marks-mucho important. Then, print! I printed mine on heavy weight cardstock
9. Load your paper onto your cutting mat, lining it up in the top left corner, like this
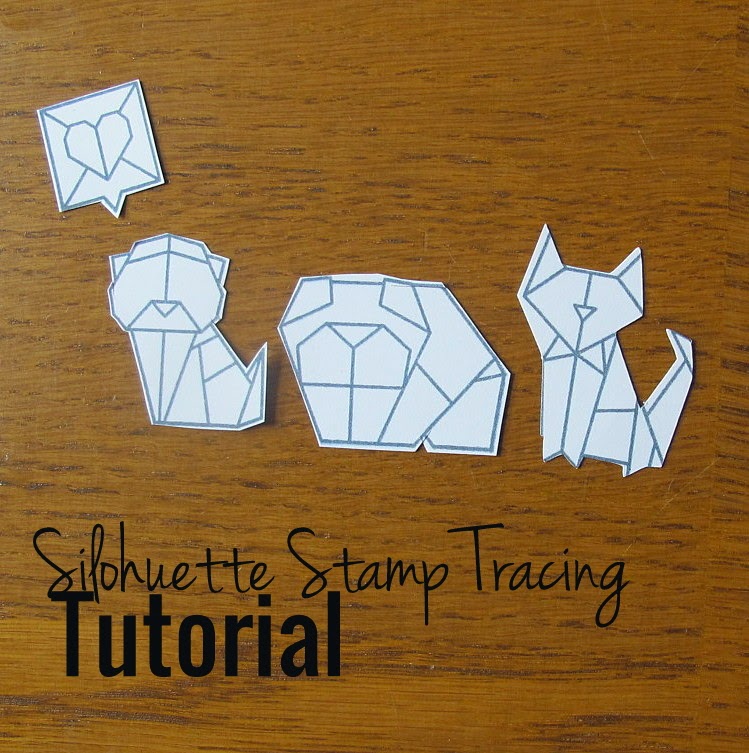
If all goes well, this is what you come out with!
Like I said before this was alot easier than I thought it would be. I also realized after I made the card that I could have just scanned the graphics right from the clear stamp package, cutting out the first step. Next time, I'll just do that. I plan on doing this again with some of my most used stamps, it could really cut down on producing several cards at once.
Here's the little critters all colored in. I really do love this stamp set so much! Especially the chunky bulldog. I call him Sumo.
Thanks for coming by! Please let me know in the comments if you have done this before? I'd love to hear what worked for you.
Happy Valentine's Day, y'all!
Michelle


